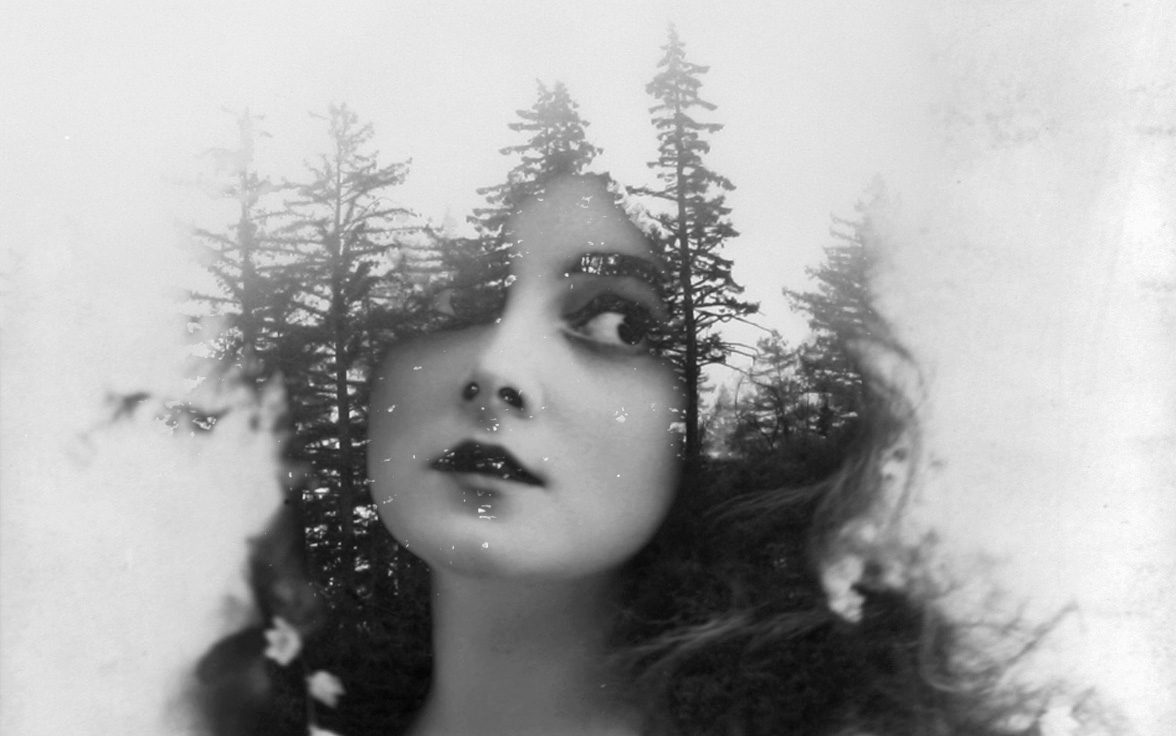
Seeing Double
This week, we’re going to take a break from software and do some filming. Our next project is going to involve double exposure photography, so we’ll be going over the process of filming for double exposure in class.
You are probably familiar with the double exposure technique if you’ve done stills photography on film. On a stills camera, you expose an image and then one or more additional images “on top” of the first image. With the advent of digital photography, this process has gotten more refined – it’s a simple process to combine images in programs like Photoshop and Lightroom. Using different blend modes, such as darken or color dodge, will give different results.

The process is very similar for video. We’ve already talked about how to use the opacity and blend settings in Premiere’s Effect Controls panel – there are even more advanced options in After Effects that we’ll go over soon. You can use this technique with any footage, but there are some things to keep in mind if you want to achieve a specific effect.
Our point of inspiration for this project is the title sequence created for True Detective. The sequence uses the multiple exposure technique to create haunting collages. Most of the shots blend slow motion footage of a character with evocative landscape photography or video. In the following video from Wired, the history of television title sequences is discussed, as well as the specific influences behind the True Detective credits.
Void Filming
To get this particular look, the different video layers need to have certain qualities – the interplay between light and dark areas of the screen is especially important. For the most dramatic effect, the actors should be isolated, preferably against either a light or dark background. The images overlaid on top of the actors should obviously be interesting, but if they are too detailed or have too much movement, the effect will be chaotic.
We’re going to be recording footage of each other against clean white and black backgrounds. We’re also going to film in slow motion, so that the footage has a dreamy quality and any movement present doesn’t compete with whatever is happening on the second layer of footage.
“White void” (sometimes called cyclorama) photography requires some planning and plenty of lights. The background needs to be evenly and brightly lit and the subject should be far enough away from it to avoid casting shadows. Shooting against a dark void is a bit simpler, but you still need to be very mindful of how light falls on your subject. I recommend moving the camera back and shooting at a long focal length. This will compress the space, which means that you won’t need a huge backdrop, and it will shrink the depth of field, which will help the background go out of focus behind the subject. If that’s confusing, don’t worry about it – you basically just need to get the background as even as you can.
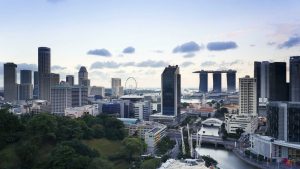
As for the overlaid footage, aerial footage often a good choice; time lapse shots can be interesting as well. You may want to try a still image, since you can always add some movement with editing software. For the specific look achieved in the True Detective credits, look for images with light and dark areas, such as a well-defined horizon and a bright sky. This will let one layer of footage to “reveal” the other as they interact.
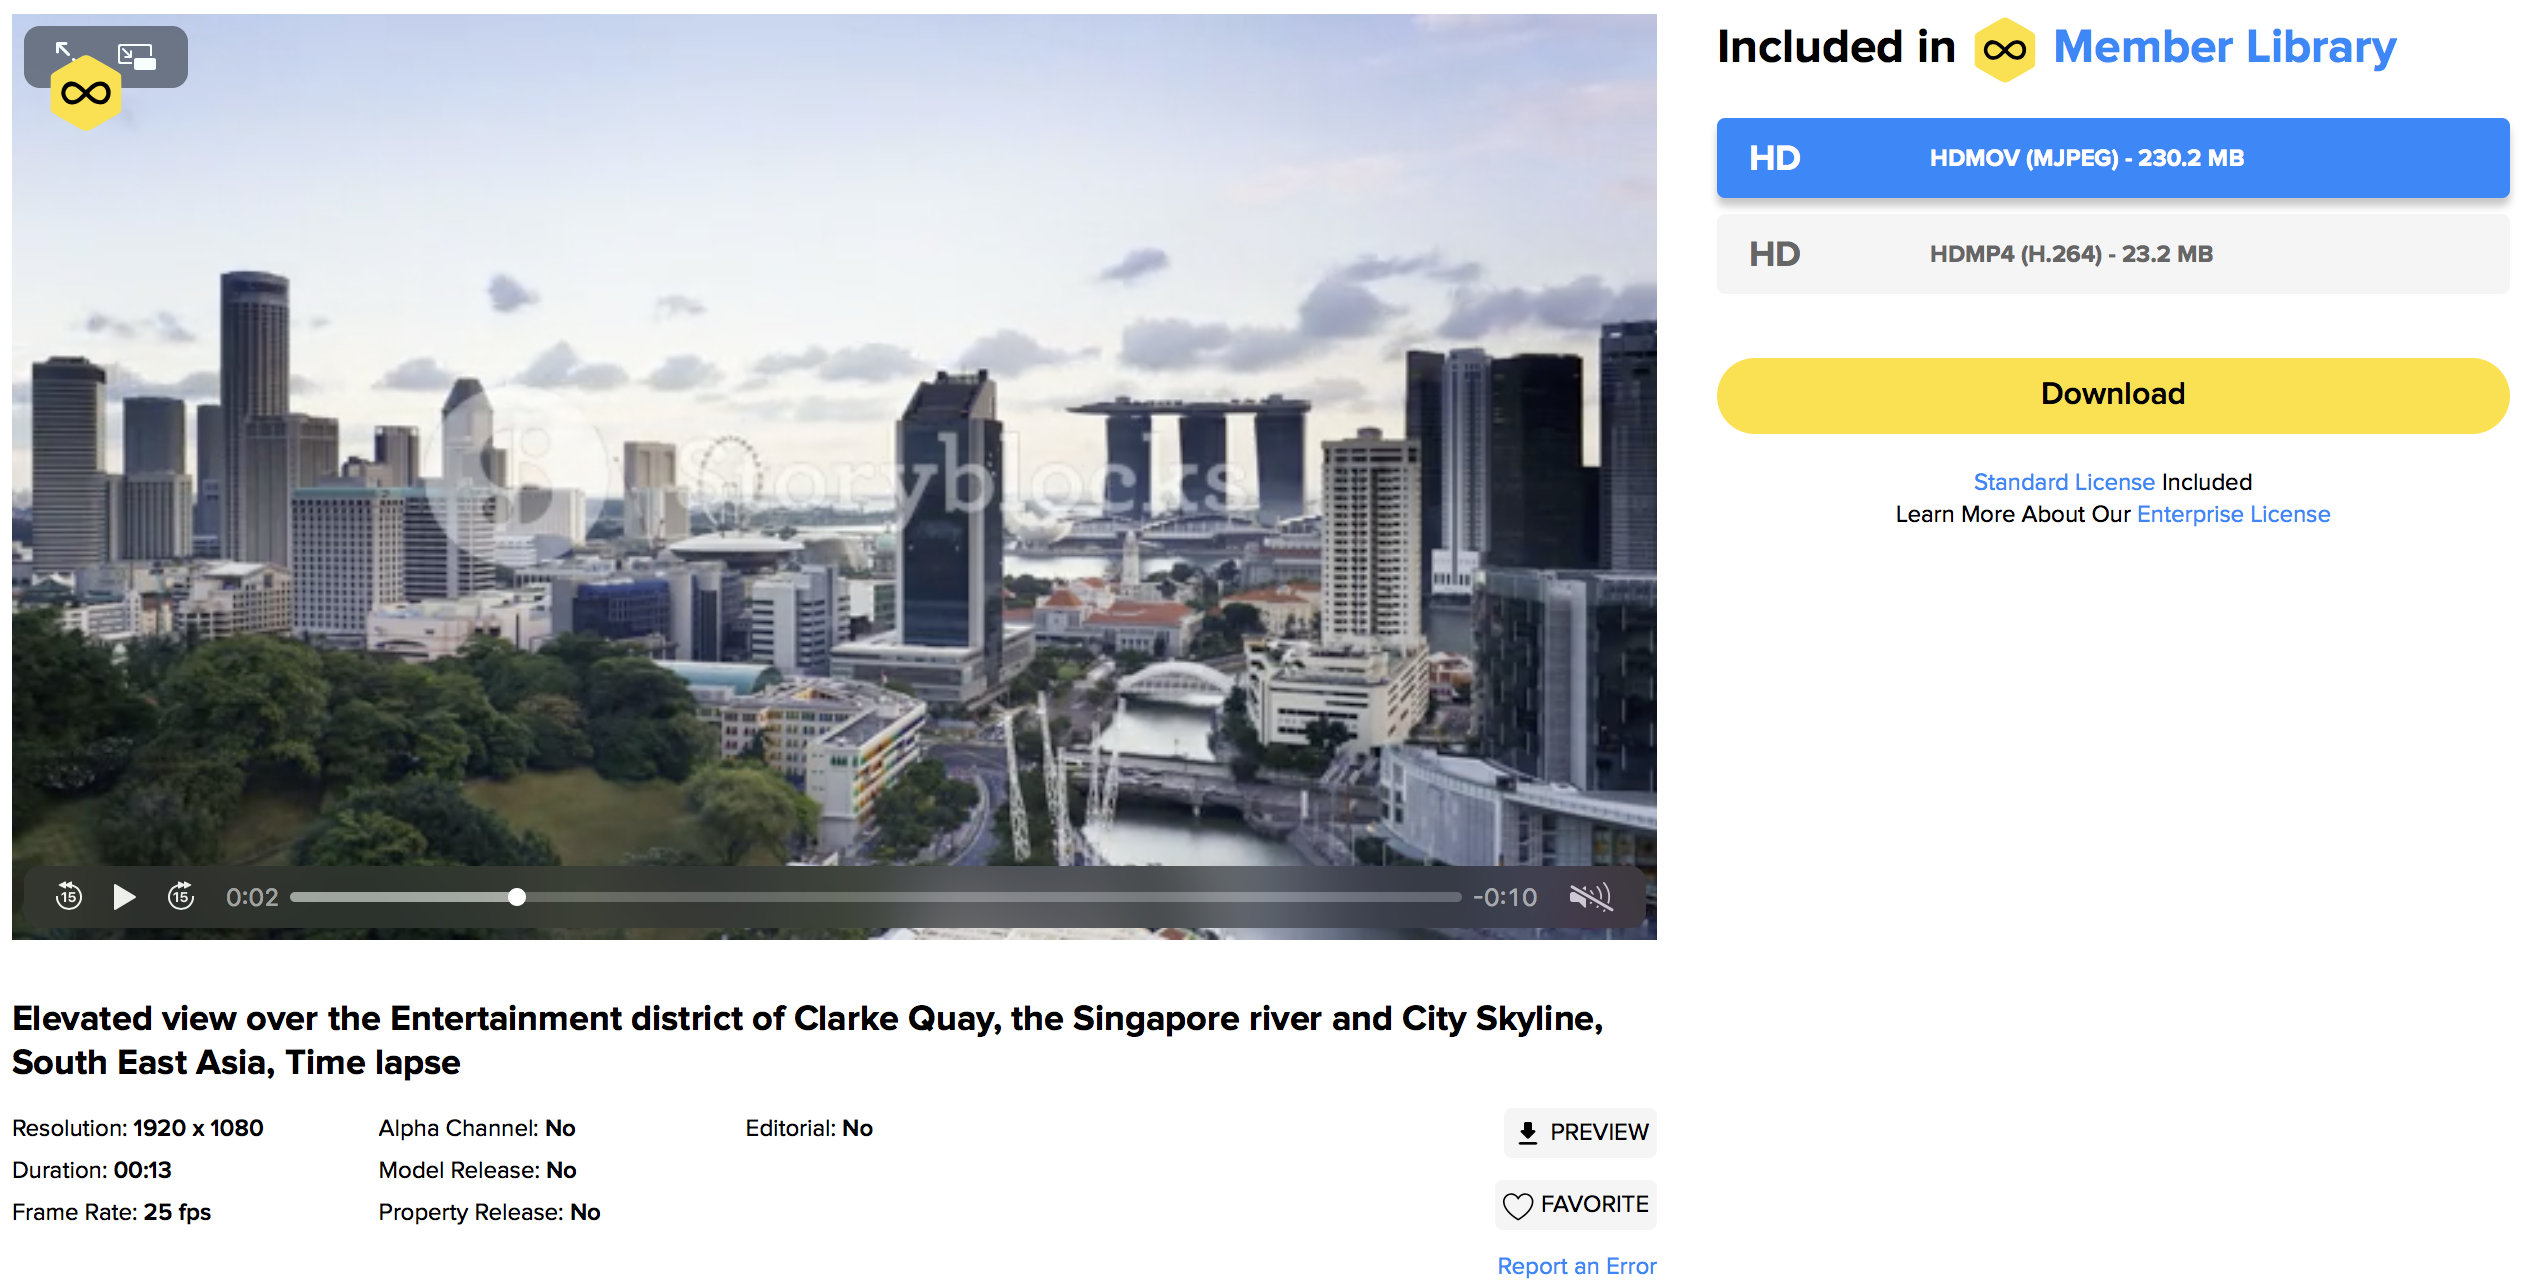
Blend It Together
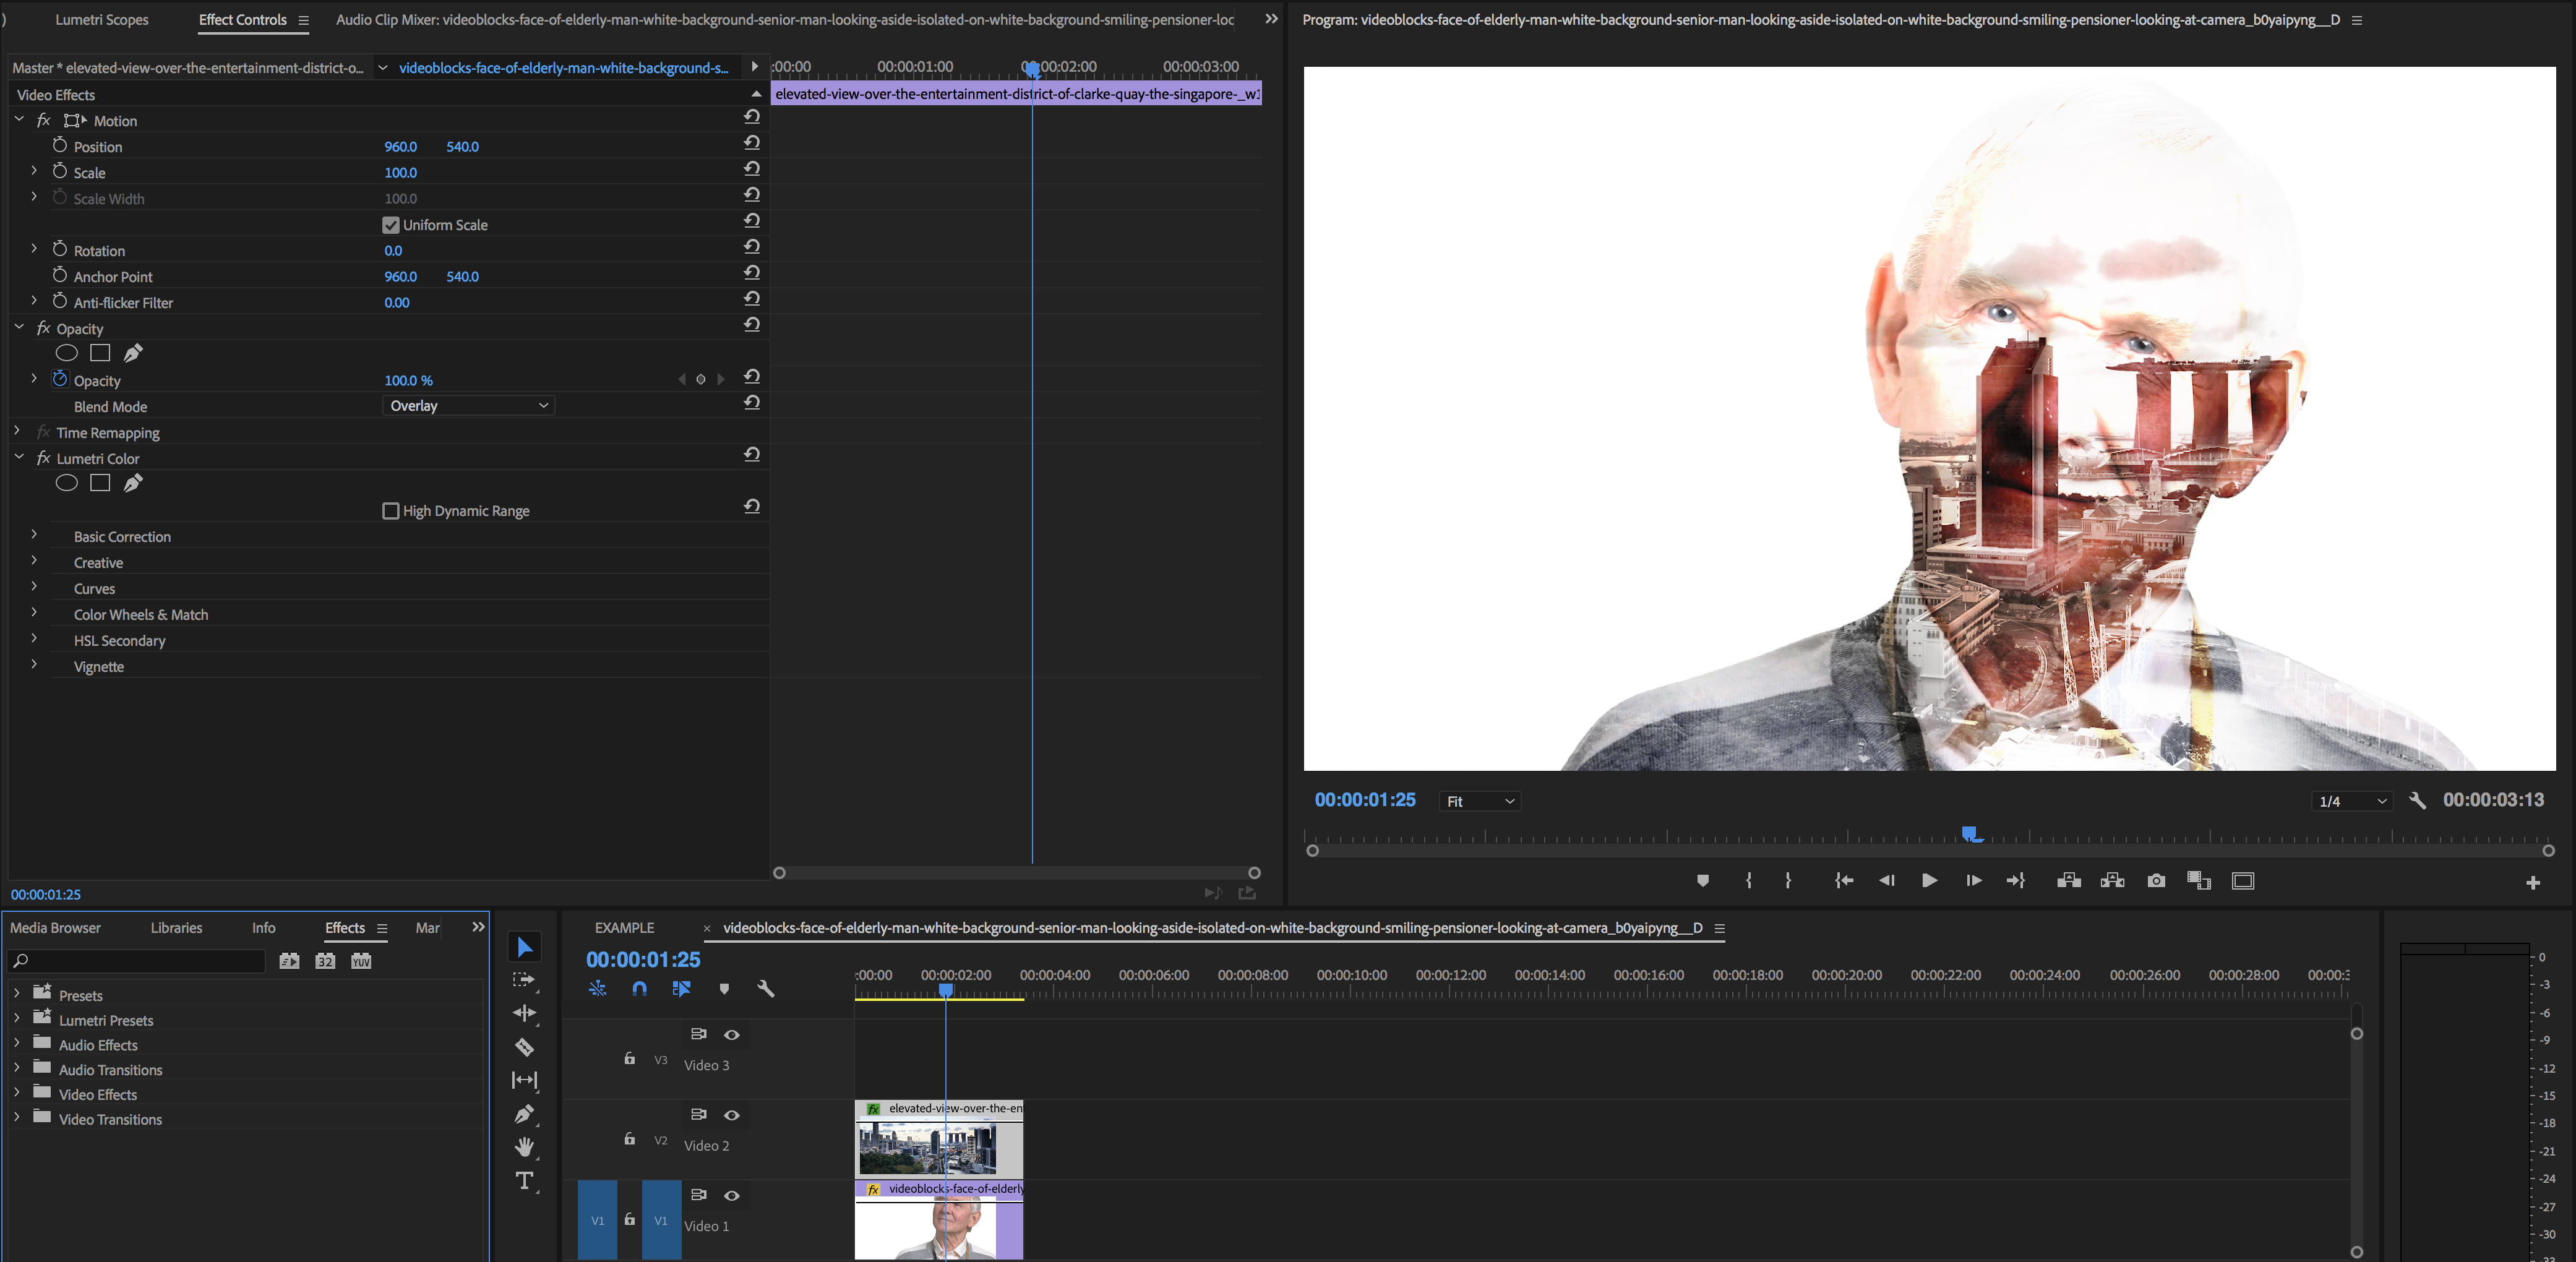
Once you have at least two elements to composite together, bring them into the editing platform of your choice. Premiere will work just fine, as will After Effects, Final Cut Pro, or most other post-production software. Place one piece of footage above the other in the timeline. You can actually put either on top, but the order in which you place them will change how some of the blend modes work.
I find it best to just experiment and see what kinds of results you can get. The Overlay blend mode seems to work well, as do Lighten and Screen. You may want to try adding some effects or color correction to the footage as well – things like the saturation and contrast will make a big difference. Whatever you try, remember that you want to adjust the blend mode on the top layer of footage.
Once you have a result that you’re happy with, you may want to add some color correction or effects to the composite as a whole. I recommend doing this with an adjustment layer, since adding more effects will change how the layers of footage blend together. An adjustment layer, on the other hand, will change all the other layers simultaneously.
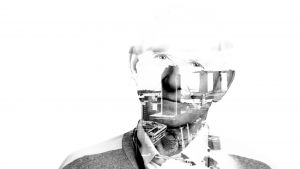
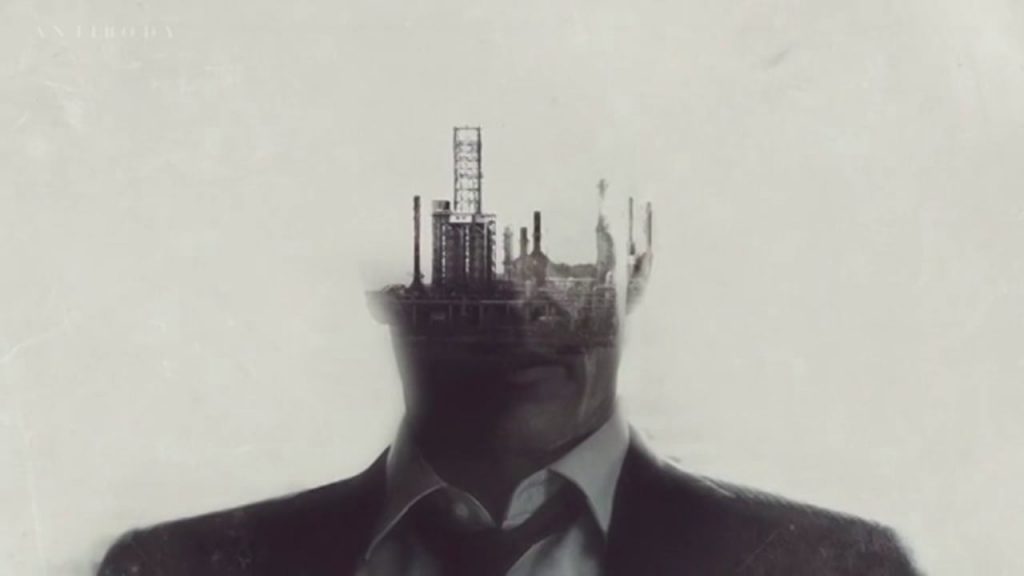
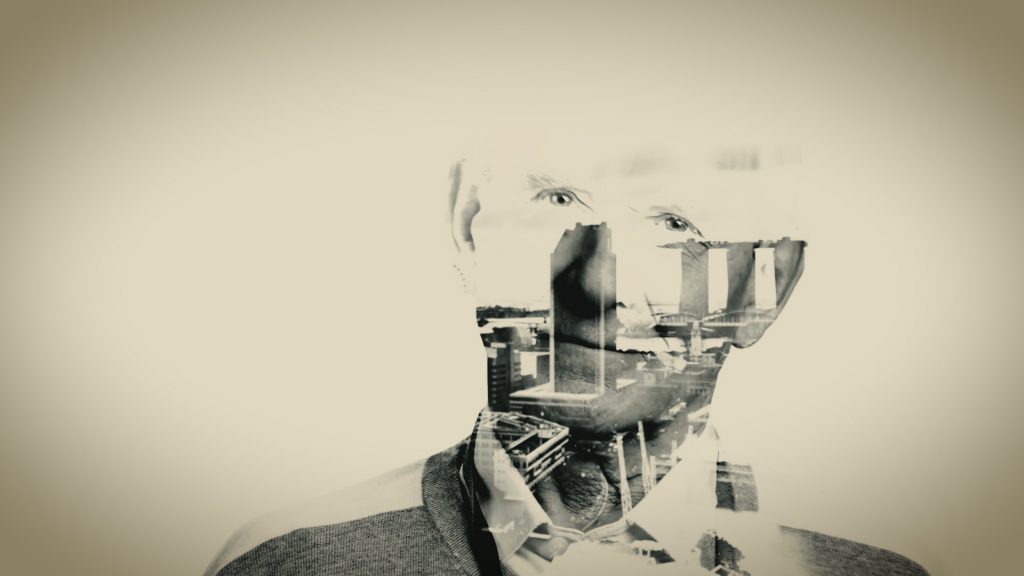
We’ll spend more time talking about blend modes and compositing next week, when we start discussing After Effects. For the time being, experiment with these techniques to figure out what kinds of unique looks you can achieve. You may want to add a third layer (or fourth, or fifth); you may want to try inverting the footage (there is an effect called Invert in the Channel section of the Video Effects of Premiere); or you could play with masking areas out using the tools in the Effect Controls panel. There are a ton of possibilities here.
You can also nest layers of footage together, which essentially creates a sequence within a sequence. Just highlight multiple layers, right click, and choose “Nest.” The multiple layers will now appear as one and a new sequence will appear in your list of media. Nesting footage allows you to affect multiple layers simultaneously. For example, you could use blend modes to composite two layers, then nest them and blend another layer onto the composite.
If you want a review of the overall technique, check out this video from Caleb Pike over at DSLR Video Shooter. He goes though shooting and editing and gives some helpful tips along the way (although he uses Final Cut Pro for the compositing).
