Effects
You can download some new footage to play with at this link. The jellyfish footage from last week is still available as well.
There are dozens of video effects built into Premiere Pro; some are useful and some are pretty tacky. The easiest way to access them is through the Effects panel – if you can’t find it, go to the Window dropdown menu at the top of the screen and choose Effects – it should pop up. There are half a dozen categories within the Effects panel, covering audio, video, transitions, and presets. For now, open the Video Effects section.
You can add effects to individual clips either by clicking and dragging from the Effects panel to the clip in the timeline, or by highlighting the clip and double-clicking on the effect. You can adjust the various parameters of the effects in the Effect Controls panel – again, if you can’t find the panel, locate it in the Window dropdown and it should appear.
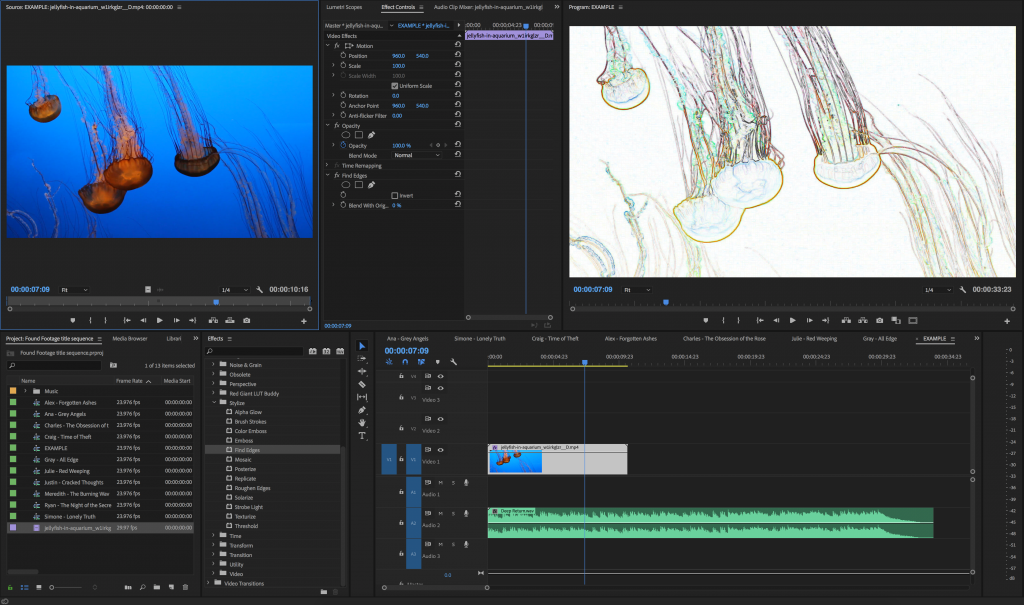
You can add as many effects to a clip as you want and the order in which you add them may change the overall appearance of the clip. You can also copy and paste effects from one clip to another by highlighting them in the Effect Controls panel and using Cmd C and Cmd V. You can toggle an effect’s visibility on and off using the little “fx” icon next to its name.
If you want to put an effect (or several effects) on every clip in the sequence, you can do so using an adjustment layer. In the Project panel, click on the new item icon at the bottom – it’s a little square with the corner turned up. Select Adjustment Layer… and click OK. This will cause a new adjustment layer to appear in the Project panel. You can then drag the layer into the timeline – any effects that you add to it will appear on the layers beneath it. This is a simple way to make all of your clips black and white, or to add a vignette to a project; it’s great for effects that can go onto an entire project. Keep in mind that it will only alter the layers below it – anything above will be unaffected.
Transitions
Video transitions are found in the Effects panel as well. To add one, click and drag a transition to the space in between two adjacent clips in the timeline. You can add a transition to a clip that isn’t next to another, but it will just go to black. Most transitions require some overlap between the clips, so you may have difficulty adding them to either end of a clip, if you are using that clip in its entirety (in other words, trim a bit off the ends of a clip before adding a transition).
You can also right-click on the space between two clips and choose Apply Default Transitions – this will create a cross-dissolve between two video clips. You can adjust the length of a transition, as well as any other relevant parameters, in the Effect Controls panel.
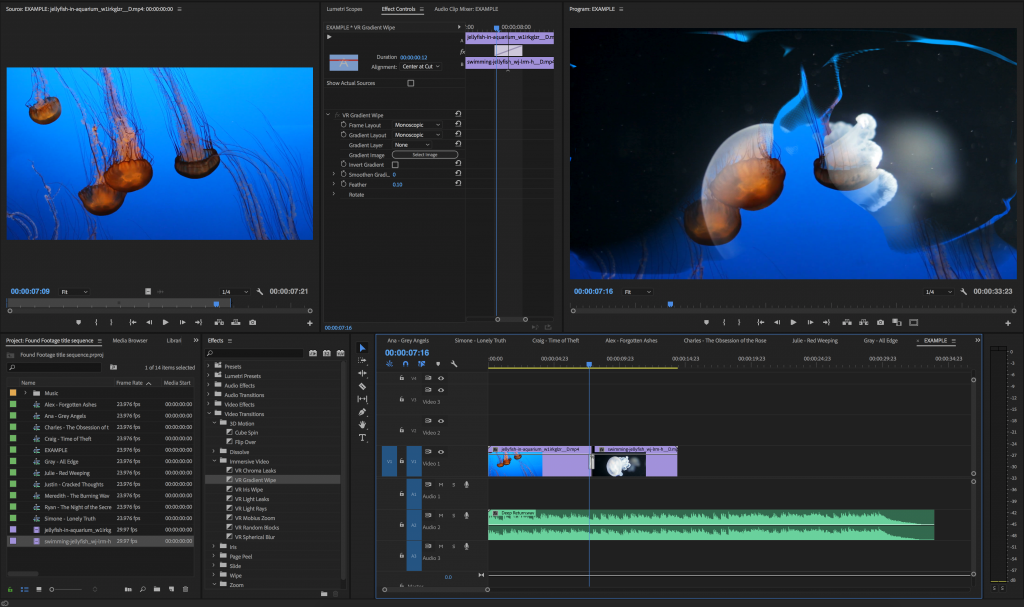
I should probably use this opportunity to encourage subtlety when it comes to transitions – simple fades and dissolves are usually the best choices. With that said, title sequences are the sort of projects where you can be a bit more stylized and experimental. So have fun! Just don’t use a flashy transition for its own sake – it should always be consistent with the themes and aesthentic of the project you are working on.
Speed
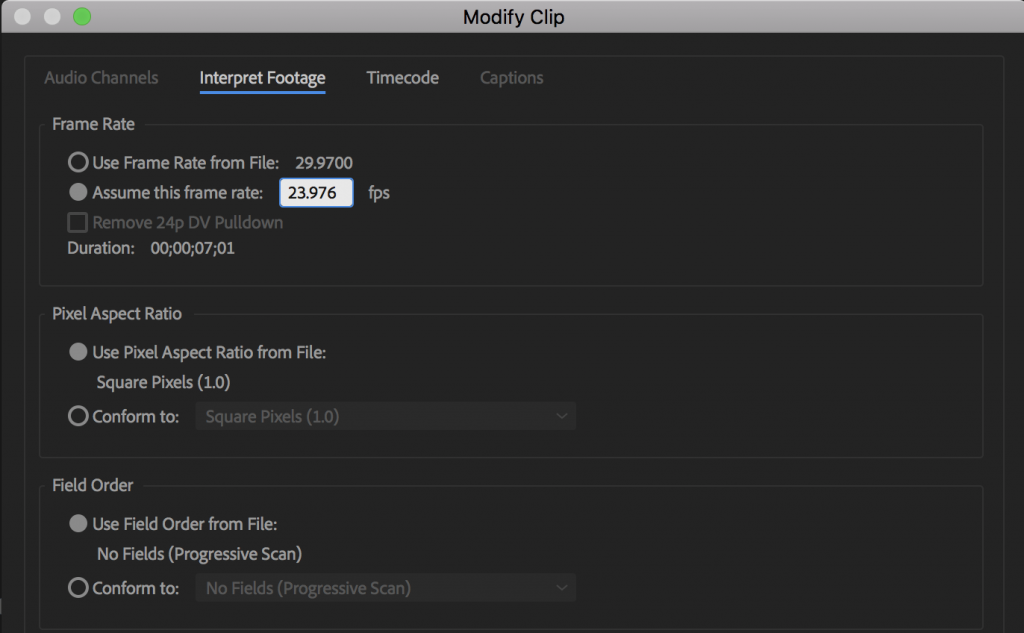
There are two primary ways of changing the speed of a clip in Premiere: in the Project panel and in the sequence in the timeline. Changing the speed of a clip in the Project panel will alter the clip for the entire project and every usage to the clip will be affected. Changing the speed of a clip in the timeline will only affect that specific instance of the clip.
To change the speed in the Project panel, right click on the clip and choose Modify> Interpret Footage… from the menu. Under Frame Rate, tick the second option and enter your desired frame rate. This will slow down or speed up the clip relative to its original frame rate. If, for example, you have footage that was captured at 60 frames per second, entering 30 fps will play the clip at half speed. If you have footage that was captured at 24 frames per second, entering 48 fps will make the clip play at double speed.
Changing the speed of a clip is a bit simpler in the timeline. Right click on a clip and choose Speed/Duration. In the pop-up menu, you can change the speed of a clip by adjusting either its speed or duration, which is handy. You can also make a clip play backwards by clicking the Reverse Speed box. The Ripple Edit, Shifting Trailing Clips option sound confusing, but it’s actually quite helpful – clicking it will move everything in the timeline relative to the changes you make to the clip. If you leave it unchecked, the highlighted clip could overwrite the next clip in the sequence.
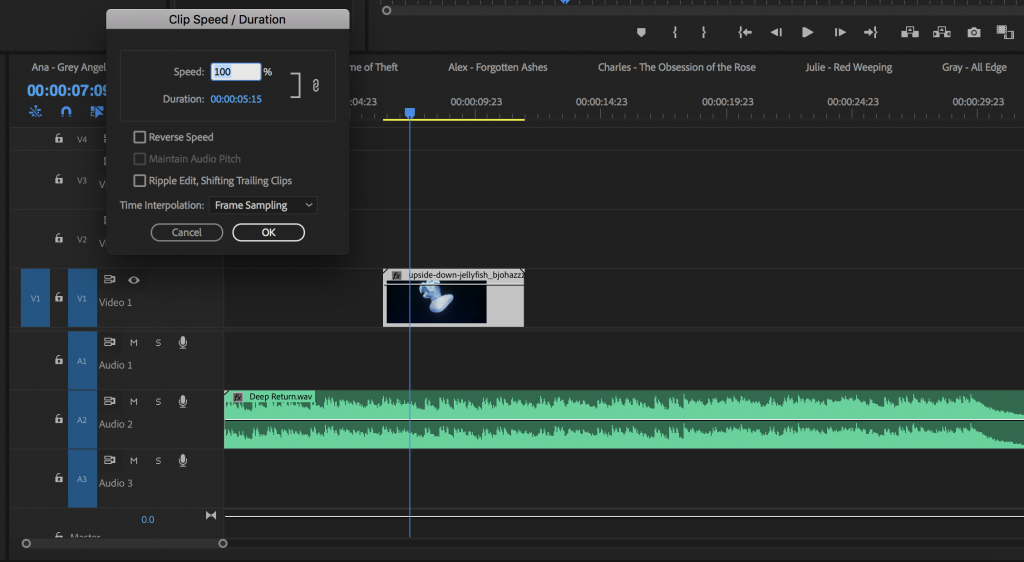
Most of the time, I alter the speed of clips individually in the timeline using the Speed/Duration option. However, if you have footage that was captured specifically for slow motion, it may make the most sense to reinterpret the clips in the Project panel.
Split Screen
In 1968, Pablo Ferro developed cutting edge split screen effects for The Thomas Crown Affair. These were done with an optical printer and the process was painfully time-consuming. We have things a lot easier now – split screen effects can be created with just a few clicks in Premiere.
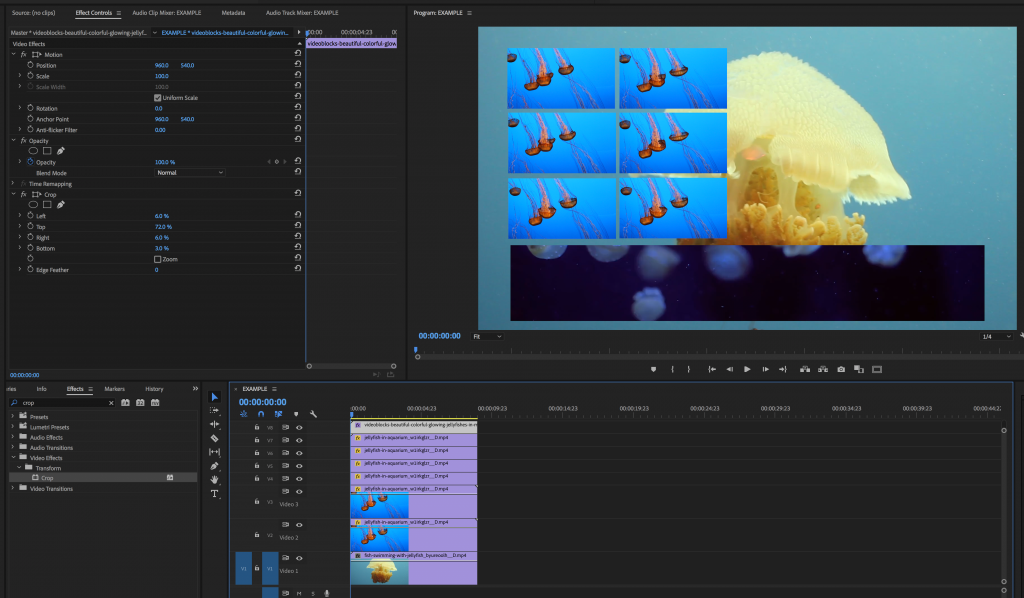
The size and location of a clip can be changed in the Effect Controls panel. These options are in the Motion category – if you click on the word Motion in the Effect Controls, a blue bounding box will appear around the highlighted clip. You can then move or scale the clip by clicking and dragging it in the Program window. For more precision, you can dial in specific values – for scale, position, and rotation – in the Effect Controls panel.
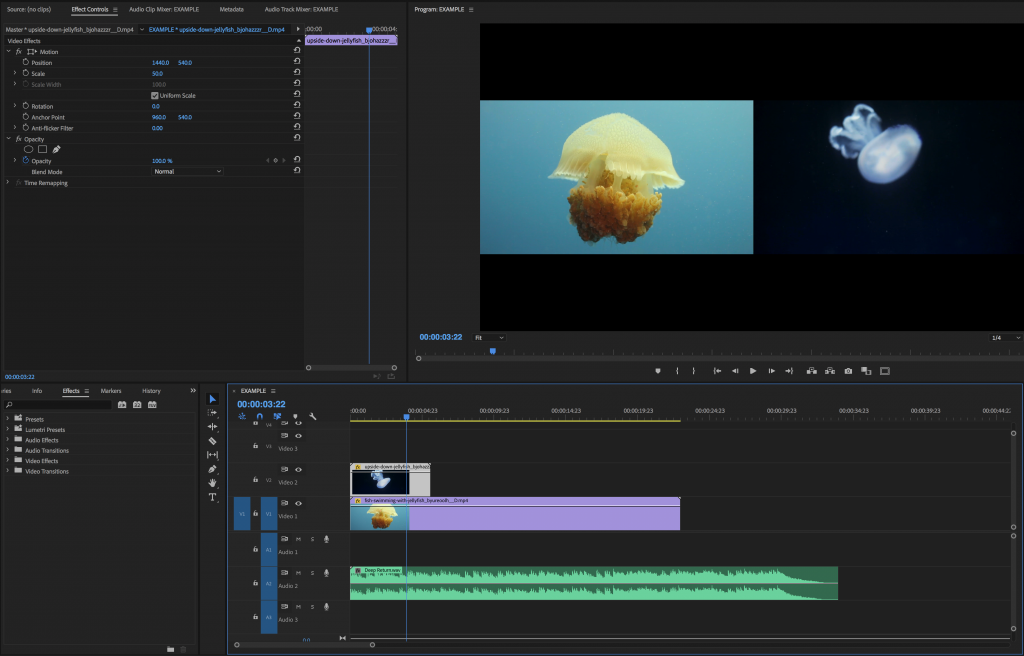
If you don’t want to change a clip’s size or location, you can also use an effect called Crop to create a split screen effect. Crop is a handy effect that allows you to cut out areas of the clip by percentage. You can also manually draw a mask using the pen and shape tools in the Opacity section of the Effect Controls. As you can see, there are lots of ways to achieve this kind of look.
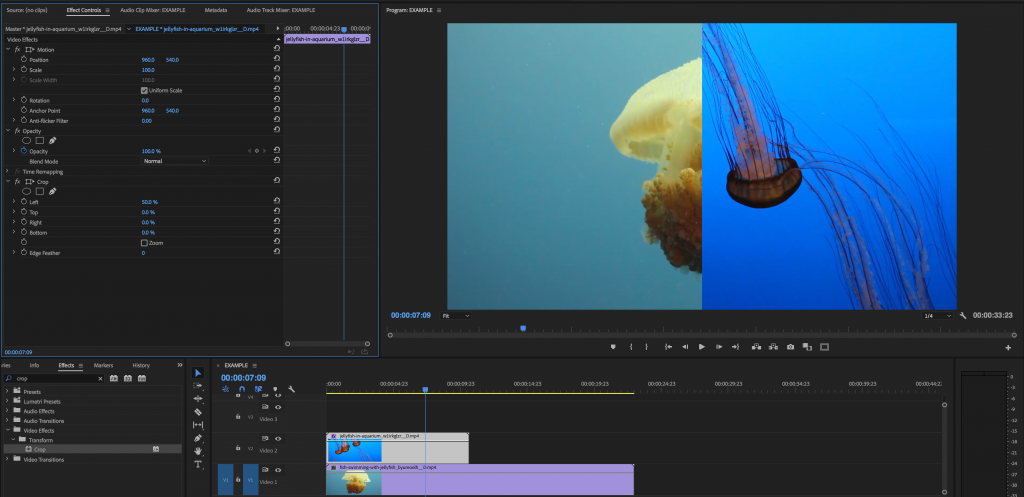
Obviously, for a split screen effect to work, you’ll need to have multiple layers of video on top of each other. If you want a particularly elaborate split screen shot, you may end up with lots and lots of video layers. You can always add more video layers by dragging a clip up to the top of the timeline panel – a new layer should appear above the top layer. You can also right click in certain areas of the timeline and choose Add Track to create new audio or video layers.
Animating Properties
Next to the various properties and effects in the Effect Controls panel, you’ll notice a small icon that looks like a blank stopwatch. If you click on this icon, it will turn blue. Doing so enables keyframes for that property, which allow you to create animation. A keyframe is simply a specific value at a specific time. For example, if you have a keyframe set at one position at the one second mark and a keyframe at a different position at the two second mark, the clip will leave the first position at one second and reach the second position at two seconds.
A keyframe is placed when you turn on the stopwatch icon, at whatever time the playhead icon shows in the timeline. Another keyframe is placed whenever a change to that property is made, again at whatever time the playhead is at. I know this sounds confusing, so try placing some keyframes and animating something like the scale of a clip. Once you’ve done it a few times, it’s pretty simple.
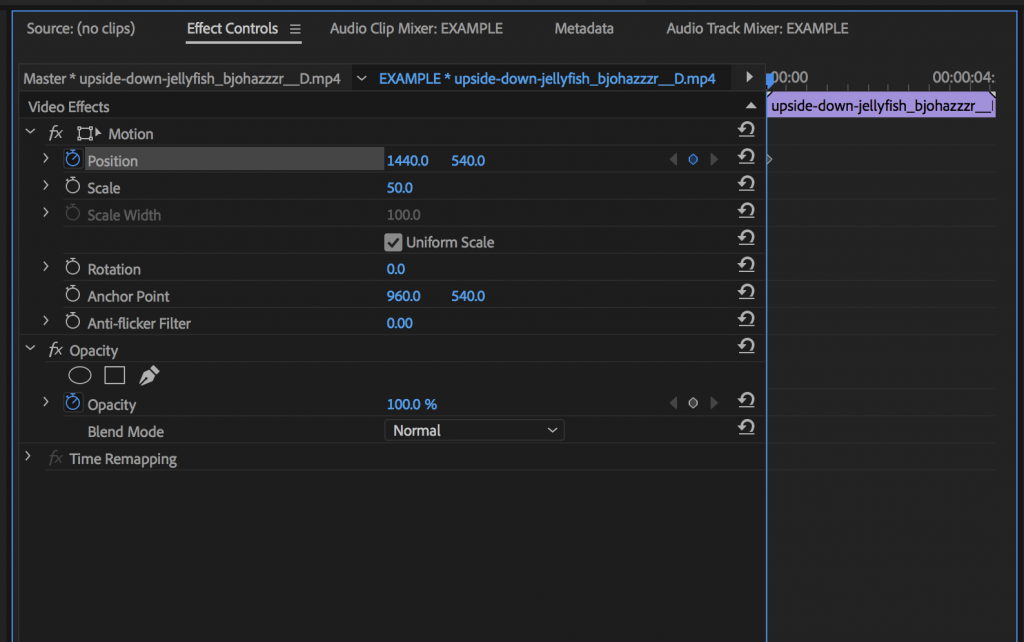
If you click on a blue stopwatch icon (one with active keyframes), all the keyframes that have been set for that property will disappear. Somewhat confusingly, certain properties (like opacity) have keyframes turned on by default – but most do not. Just be aware of whether or not keyframes are active when you make and adjustment.
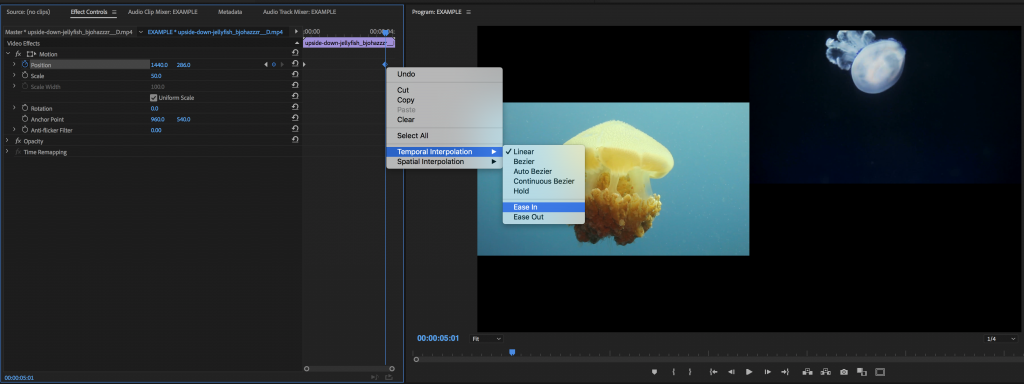
If you want to get advanced with keyframes, you can “ease” them, which smooths out the animation. In the Effect Controls panel, right click on a keyframe (it’s a little diagonal square) and choose Temporal Interpolation from the menu. Choose Ease Out for your first keyframe and Ease In for your last keyframe – this will make the animation start slow, pick up speed, and then slow down again as it ends.
Opacity and Blend Modes
Below the Motion section of the Effect Controls, you’ll find the opacity options. Note that opacity keyframes are turned on by default – I’m honestly not sure why. Unless you plan on animating the property, click the stopwatch icon to turn them off. To take full advantage of the opacity effect, make sure that you have one layer of video on top of another.
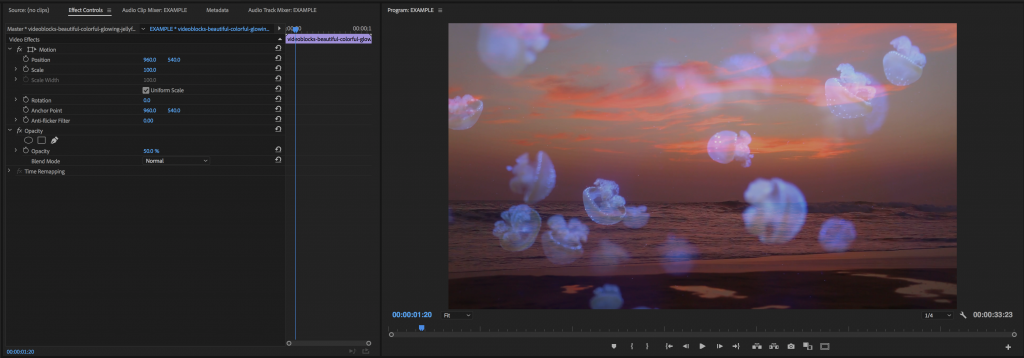
Below the opacity slider, you’ll find a dropdown menu labeled Blend Mode, which gives you some really fun creative options. You may be familiar with blend modes from programs like Photoshop – as you might expect, they change the way that layers of video blend with one another. There are a lot of options, but they are broken up into general categories: the section that starts with Darken all blend using the dark areas of the footage, the section that starts with Lighten uses the bright areas, and so on.
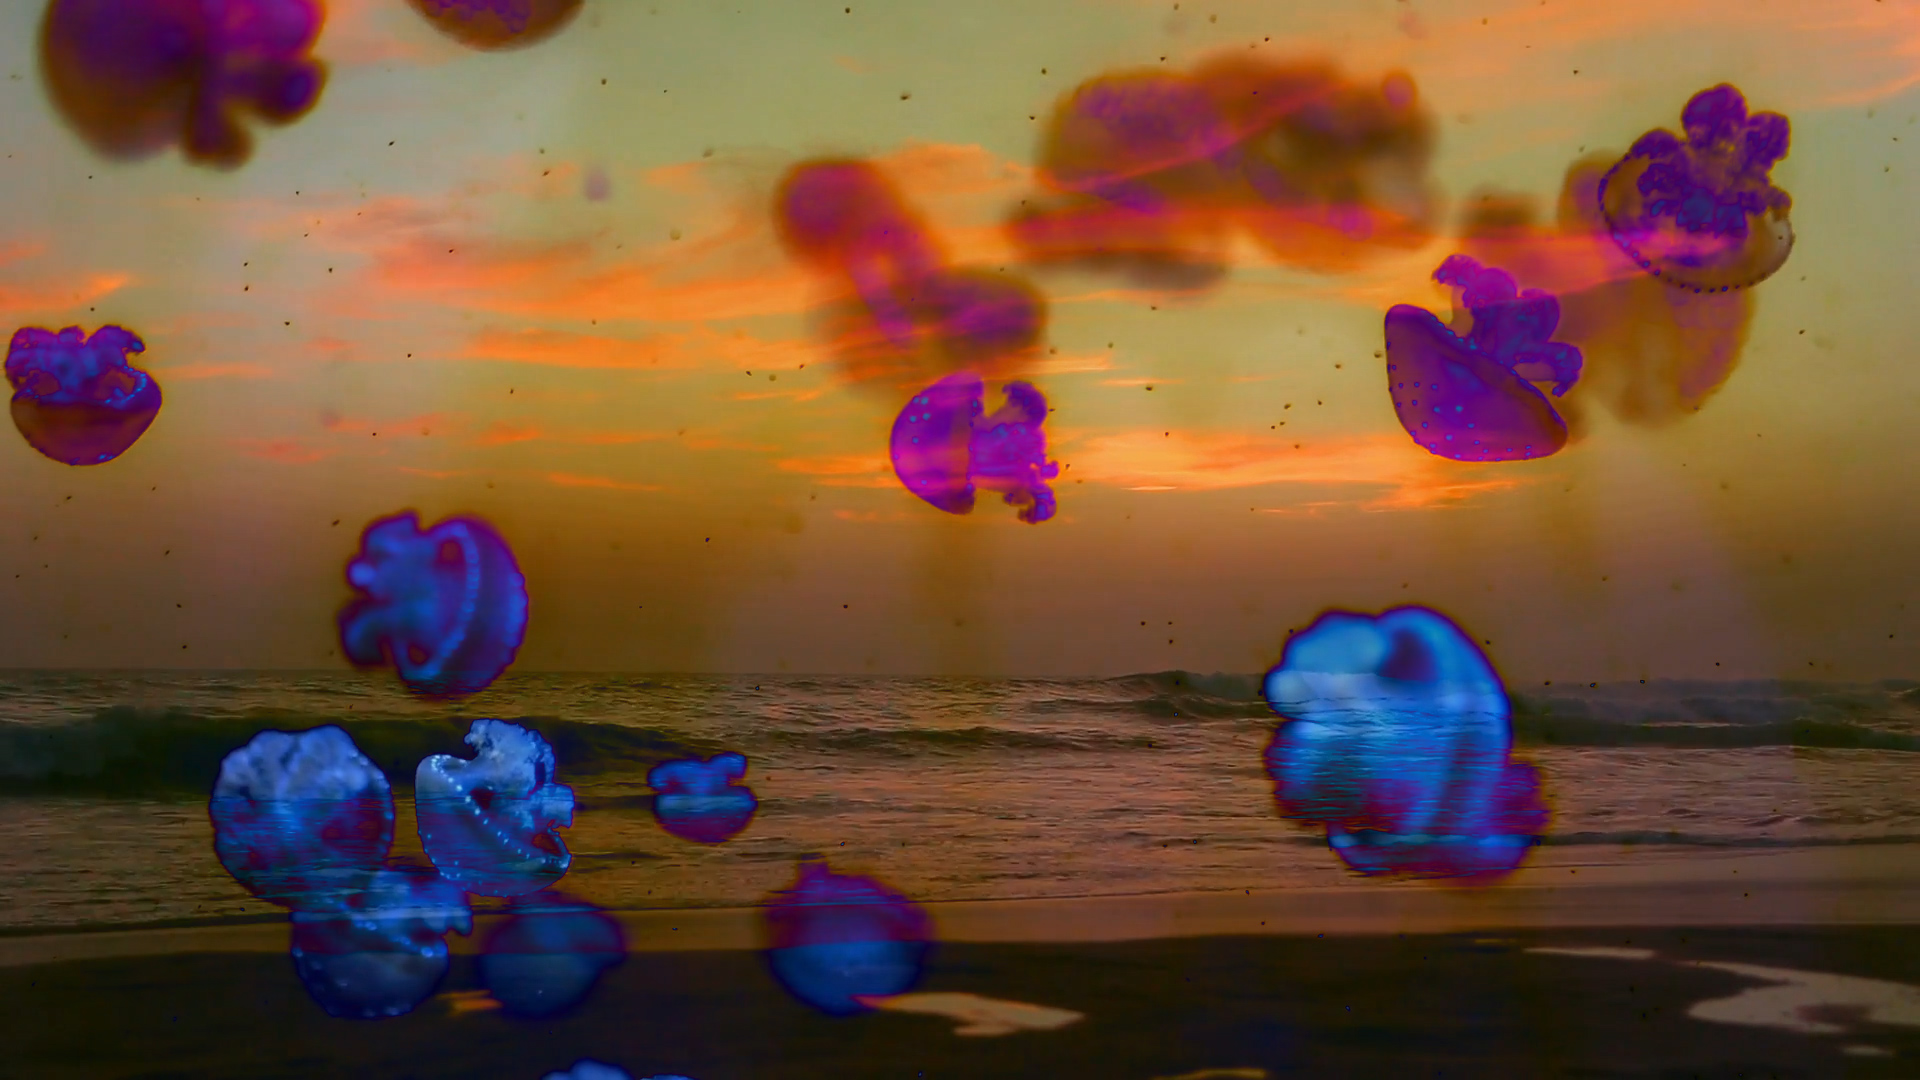
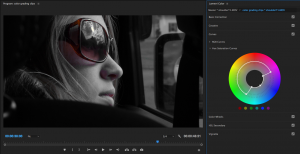
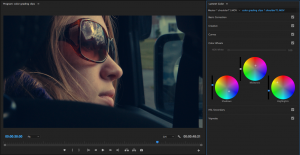
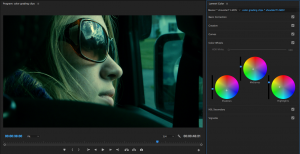
The best way to get a handle on these is just to try some options and see what you get – you can get some really dramatic results. The examples below were blended using the Difference, Vivid Light, and Saturation modes. Again, you will need to have two pieces of video stacked one on top of the other in the timeline for this effect to work. Blend modes should be applied to the top layer of video – adding them to the bottom layer won’t do anything. You can also stack up more than two clips and apply different blend modes to different layers for some really wild results.


Color Correction
Before we wrap up, I want to talk briefly about color correction. There are a handful of color correction effects and you should feel free to experiment with them. For the most control, however, the best method is to switch to the Color workspace by clicking the option at the top of the screen. This will give you the Lumetri Color panel, which has tons of color-related parameters to tweak.
I’m not going to go through all of the options in the Lumetri Color panel – we have an entire class on color that deals with that in greater depth. Most of the sliders are fairly straightforward and you should be able to see what effect they are having in the Program window. Just make sure that the clip you want to correct is highlighted in the timeline. As a general rule, I like to work my way down the panel, starting with the Basic Correction section, then playing around with Creative, and so on. Since we’re doing fairly stylized work in this class, I think it’s totally fine to just play with the options until you get something you like.
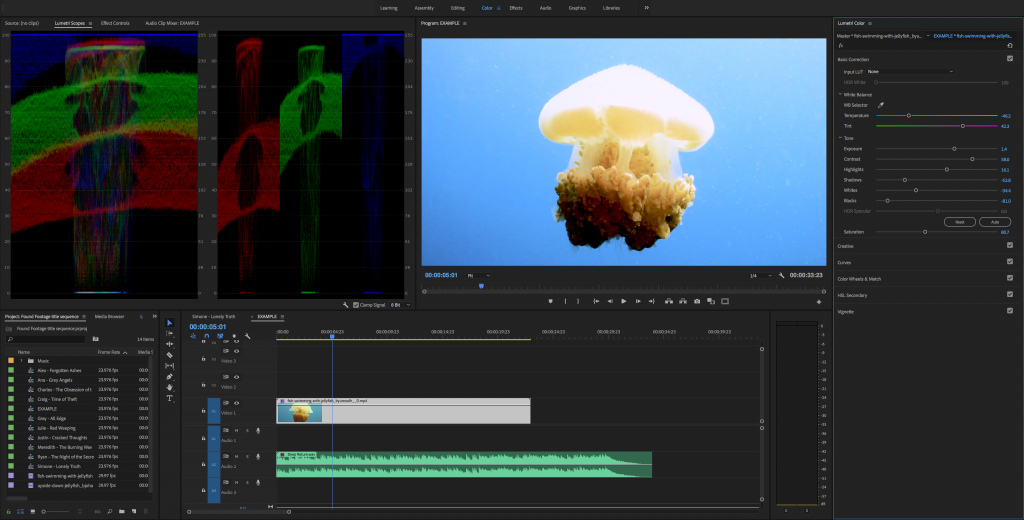
If you feel really compelled to dig into the various possibilities of the Lumetri Color Panel, you should read this blog post. You can really transform the look of footage in this panel, so have fun with it. Note that Lumetri Color adjustments also appear in the Effect Controls panel, so you can make adjustments (or delete the effect) there as well.
Exporting
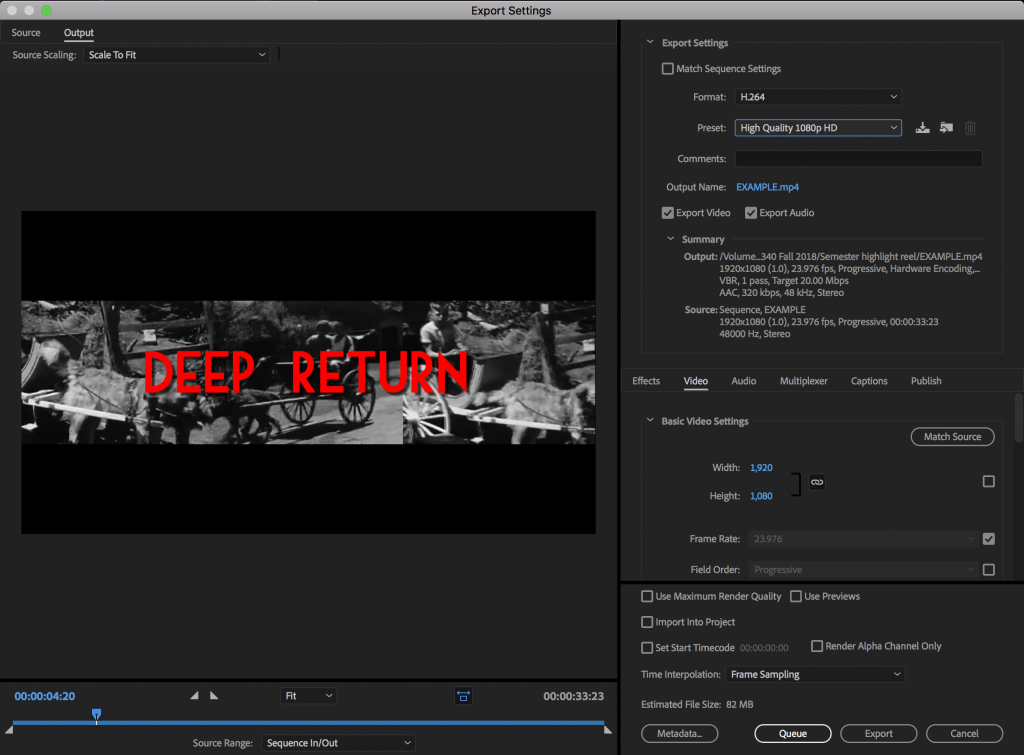
Between effects, animated properties, blend modes, and color correction, you have a lot of different options for altering footage in Premiere Pro. Once you are ready to export your project, set an in and out point around it in the timeline using the I and O keys. Then go to File>Export>Media… or hit Cmd M. A window will open with export options.
There are a lot of options in this window, so I’ll just be going over some good, general purpose settings. If Match Sequence Settings is selected, uncheck it – we do not want this option. Under Format, select H.264, then choose High Quality 1080p HD under the Preset dropdown. If you are exporting video with sound, make sure that both Export Video and Export Audio are checked. You shouldn’t need to change any other settings using this combination of format and preset – the resulting video should have good image quality (certainly good enough for streaming online), but the file size won’t be too large.
If you click on the blue text next to Output Name, you’ll be able to set the export’s name and save location. When everything is set, click on Export and the process will begin. If you click on Queue instead, the export job will be sent to another program, Adobe Media Encoder. Media Encoder is a powerful program, but you shouldn’t need to use it for basic exports, so just click on the Export button instead. When your project is done rendering, be sure to watch through it to make sure that everything encoded correctly; export errors aren’t common, but they do happen.
