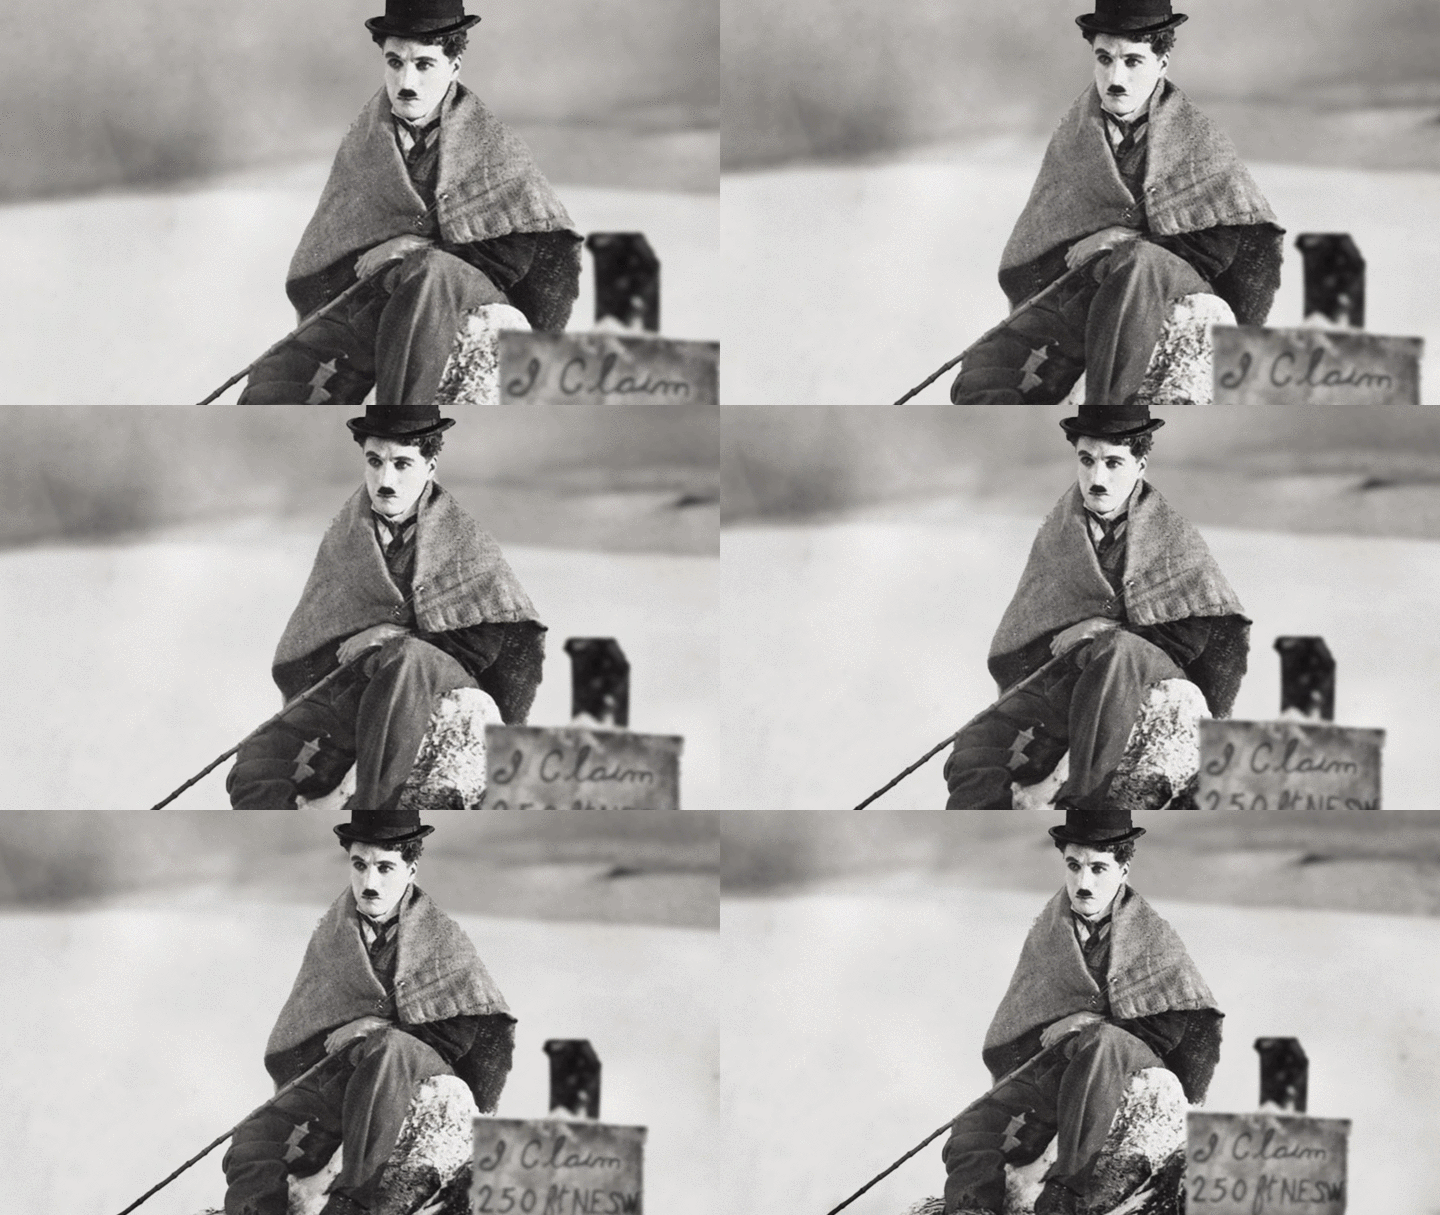
Photoshopin’
You can download the media for today’s lesson at this link.
Now that you’re starting to get familiar with After Effects’ 3D workspace, we can start to create scenes with depth. This process can get a little tedious, but the results are really compelling. To get started, we’ll need to prepare our media.
For an effective 3D scene, you need media that has an alpha channel; in other words, the image is cut out in a specific shape, rather than just a rectangle. An easy way to find images with an alpha channel is to use the tools in Google Image Search – under the Color dropdown menu, choose Transparent. Of course, the image you want to use may not be available online with an alpha channel, or you may want to convert a normal photograph. In these instances, you’ll need to separate the images in a photo editing program like Photoshop.
I’m not going to go into great depth about how to cut out images in Photoshop; there are lots of tutorials online, if you need a hand. The most straightforward method is probably to duplicate the original image and erase everything you don’t want on the new layer. There are also tools like the magnetic lasso and color selector that can help speed up the process.
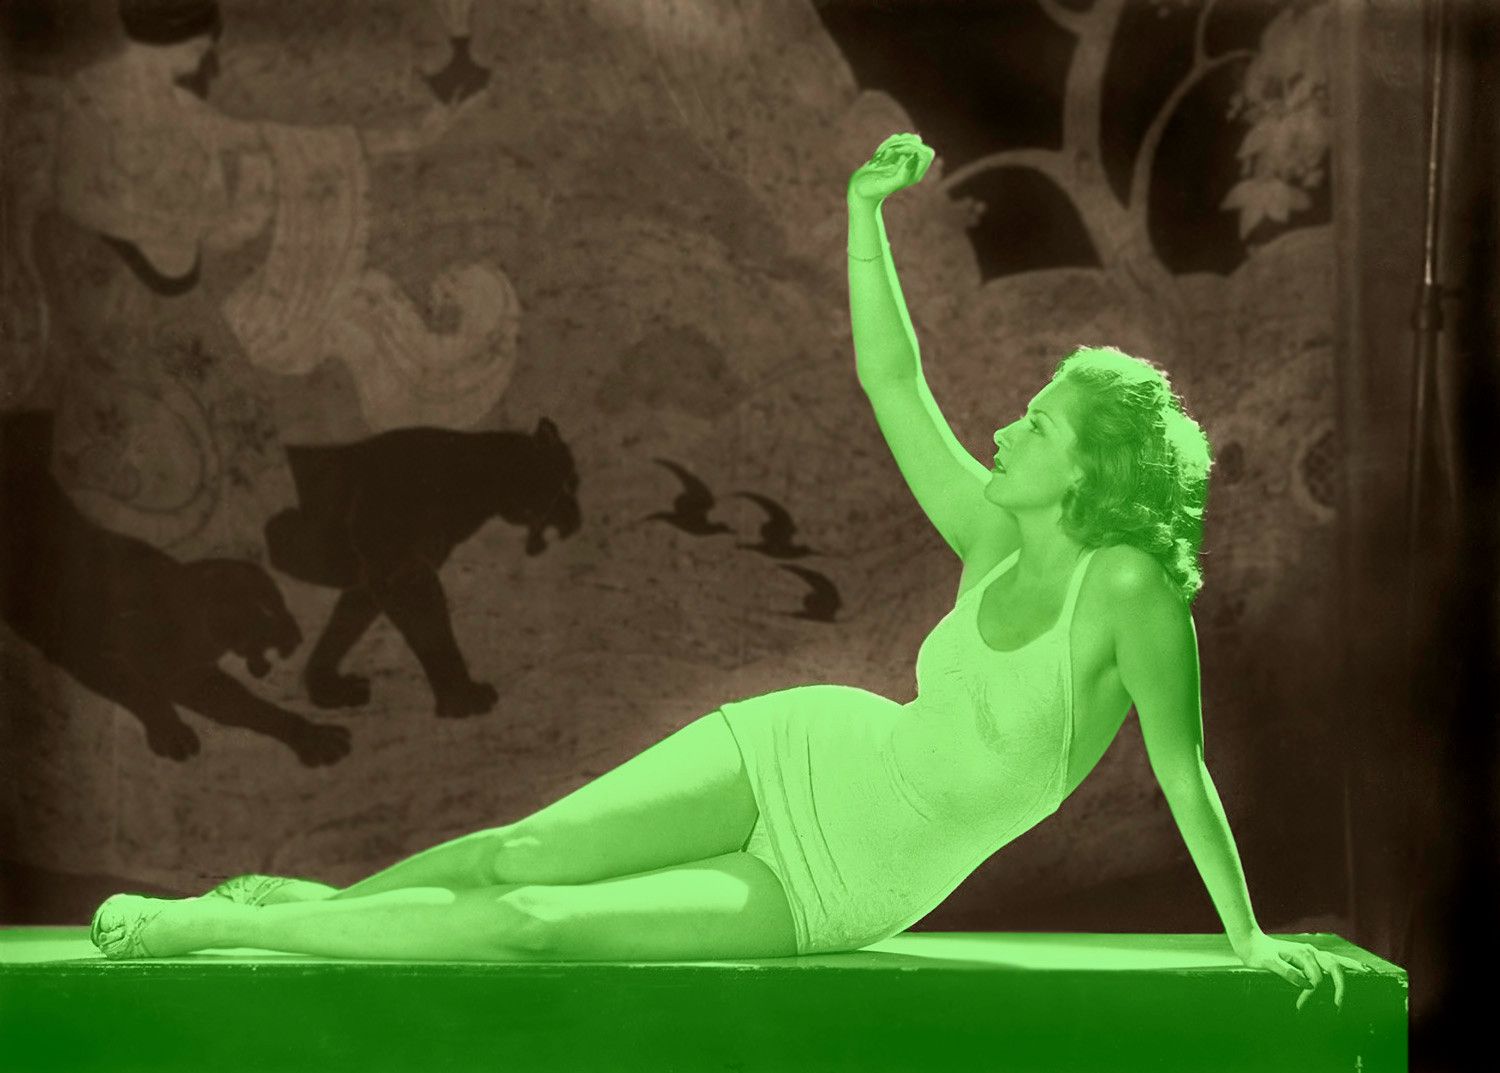
In the example below (borrowed from Pat David) we have a Ziegfeld Follies model reclining in front of a screen. This image is a good candidate for 3D photo conversion, since there is a clearly defined foreground (the model) and background (the screen). The image isn’t overly complex and cutting out the model from the image is a relatively straightforward process.


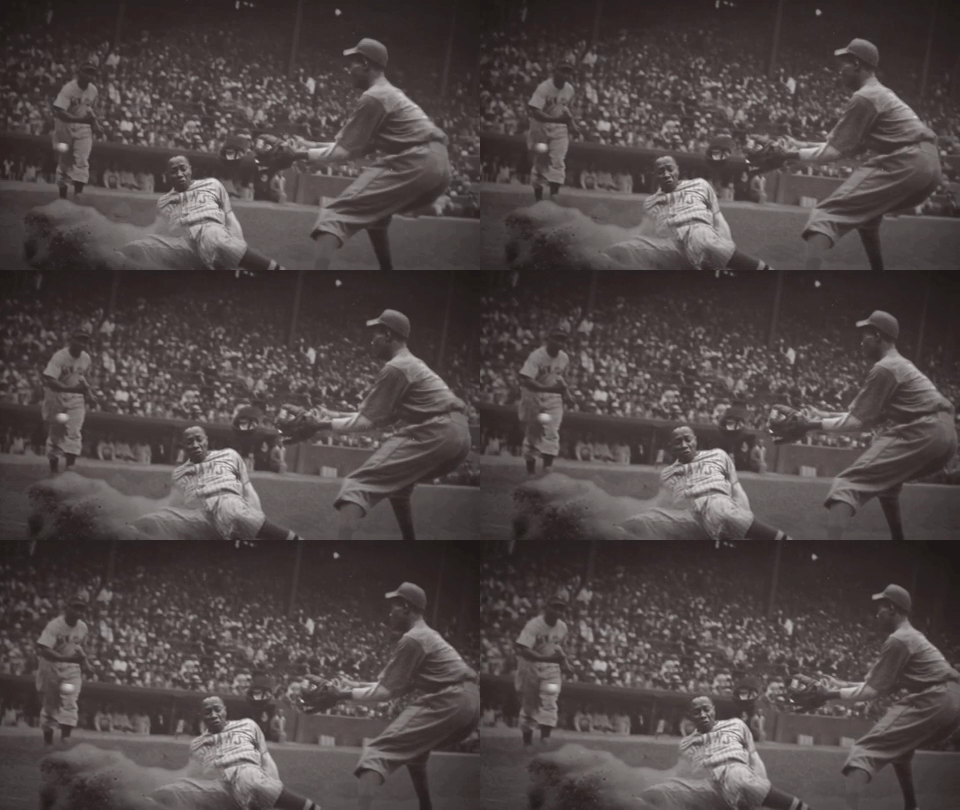
The complicated part of the process comes next: in addition to cutting the foreground out of the image, we need to create a “clean” version of the background. In this example, we need an image of the background screen without the model. Again, there are various ways to do this and lots of tutorials online. I use the clone stamp and healing tools a lot during this process and Photoshop has a “content-aware fill” feature that can give you a good starting point. You could also discard the original background entirely and choose a new image to use instead. In this example, the animator has painted the model out of the background to create a clean version of the image.
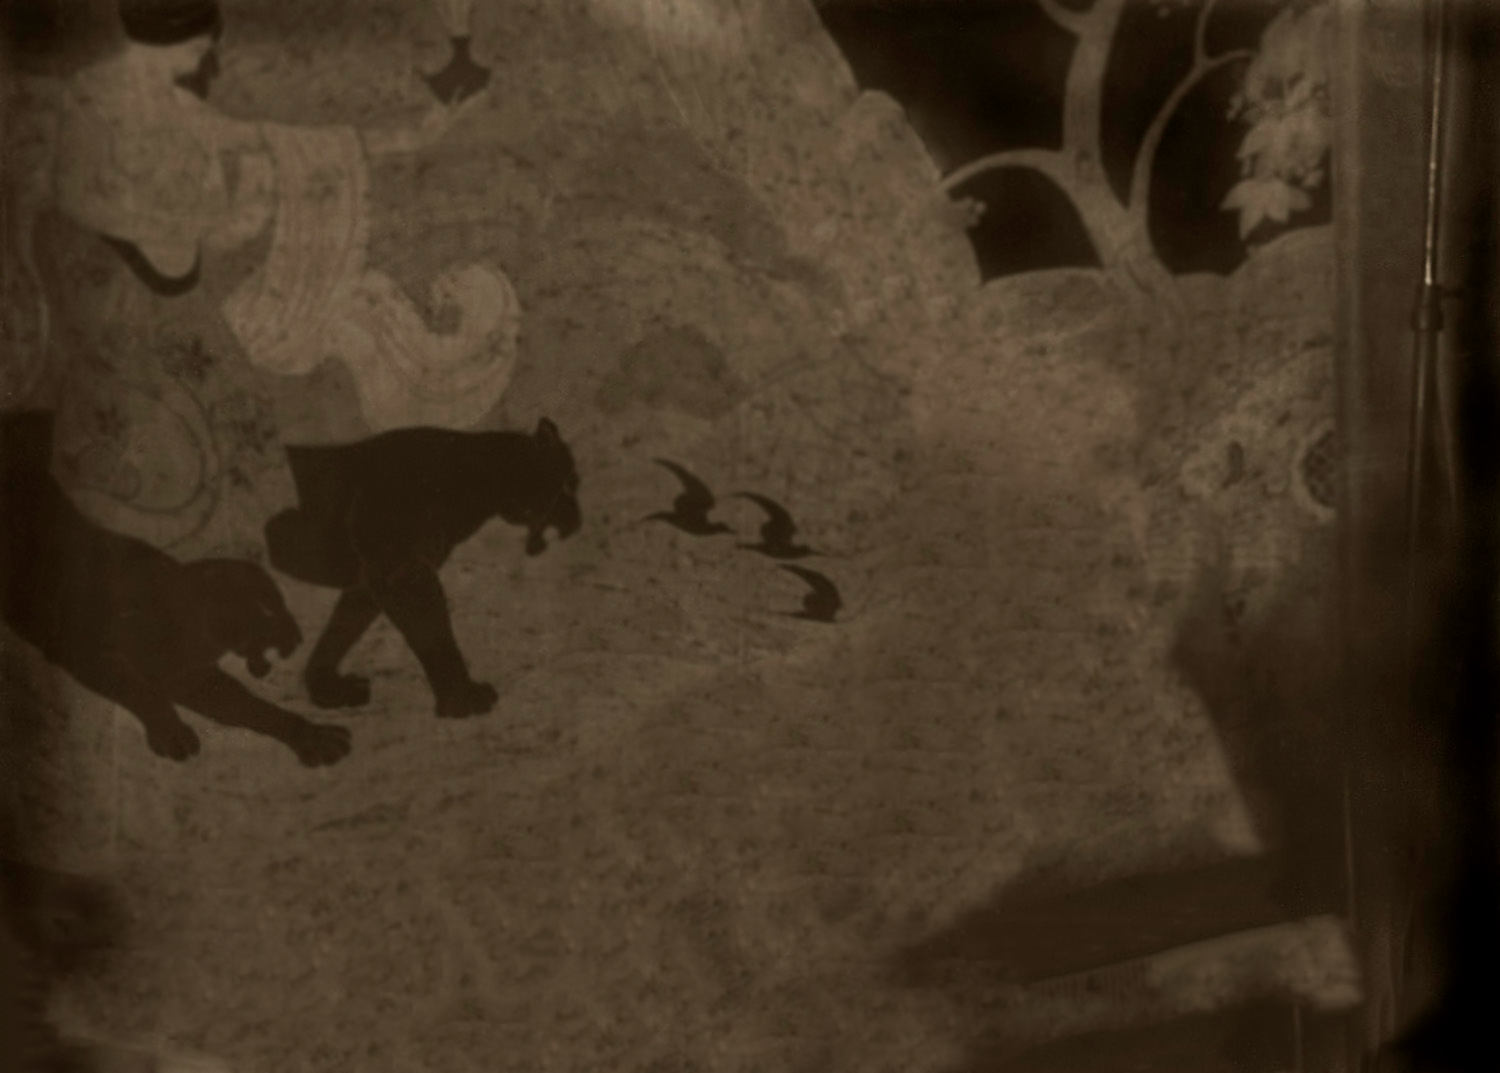
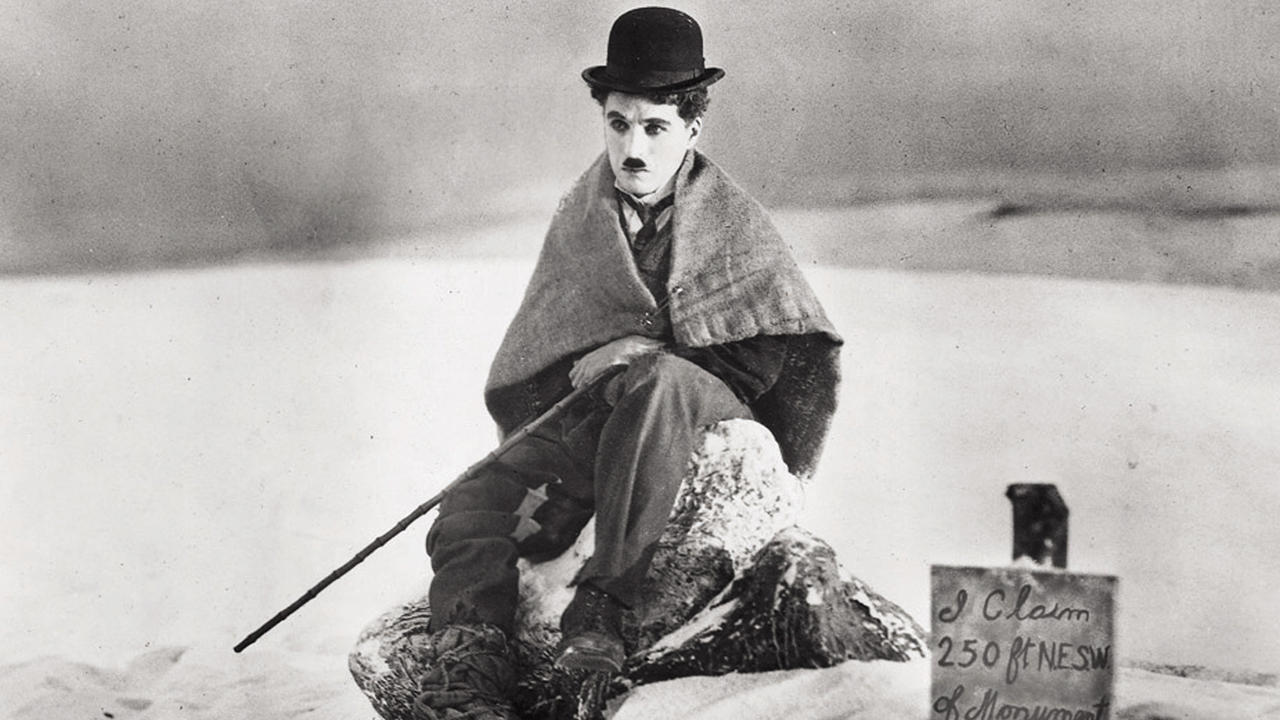
By this point in the process, you should have the original image broken up into multiple layers in Photoshop, with a clean background layer and a cut-out foreground layer. For more complex images, you might have multiple layers of depth – in the shot of Charlie Chaplin below, we could cut out the sign in the immediate foreground, then cut out Chaplin, and finally clean up the far background. The more layers you create, the more effective your final 3D scene will be.
When you have your layers separated out, you can export them individually as image files – remember, you must use a file format that allows for alpha channel transparency. PNG files work well for this. However, you can also just save your work as a Photoshop file (.psd) and import it into After Effects with its layer structure intact. To do this, import the file as usual, but change the “Import As:” option from Footage to Composition: Retain Layer Sizes. You may get a warning about merging the layer styles – this isn’t usually relevant to what we’re doing here, so just click OK.
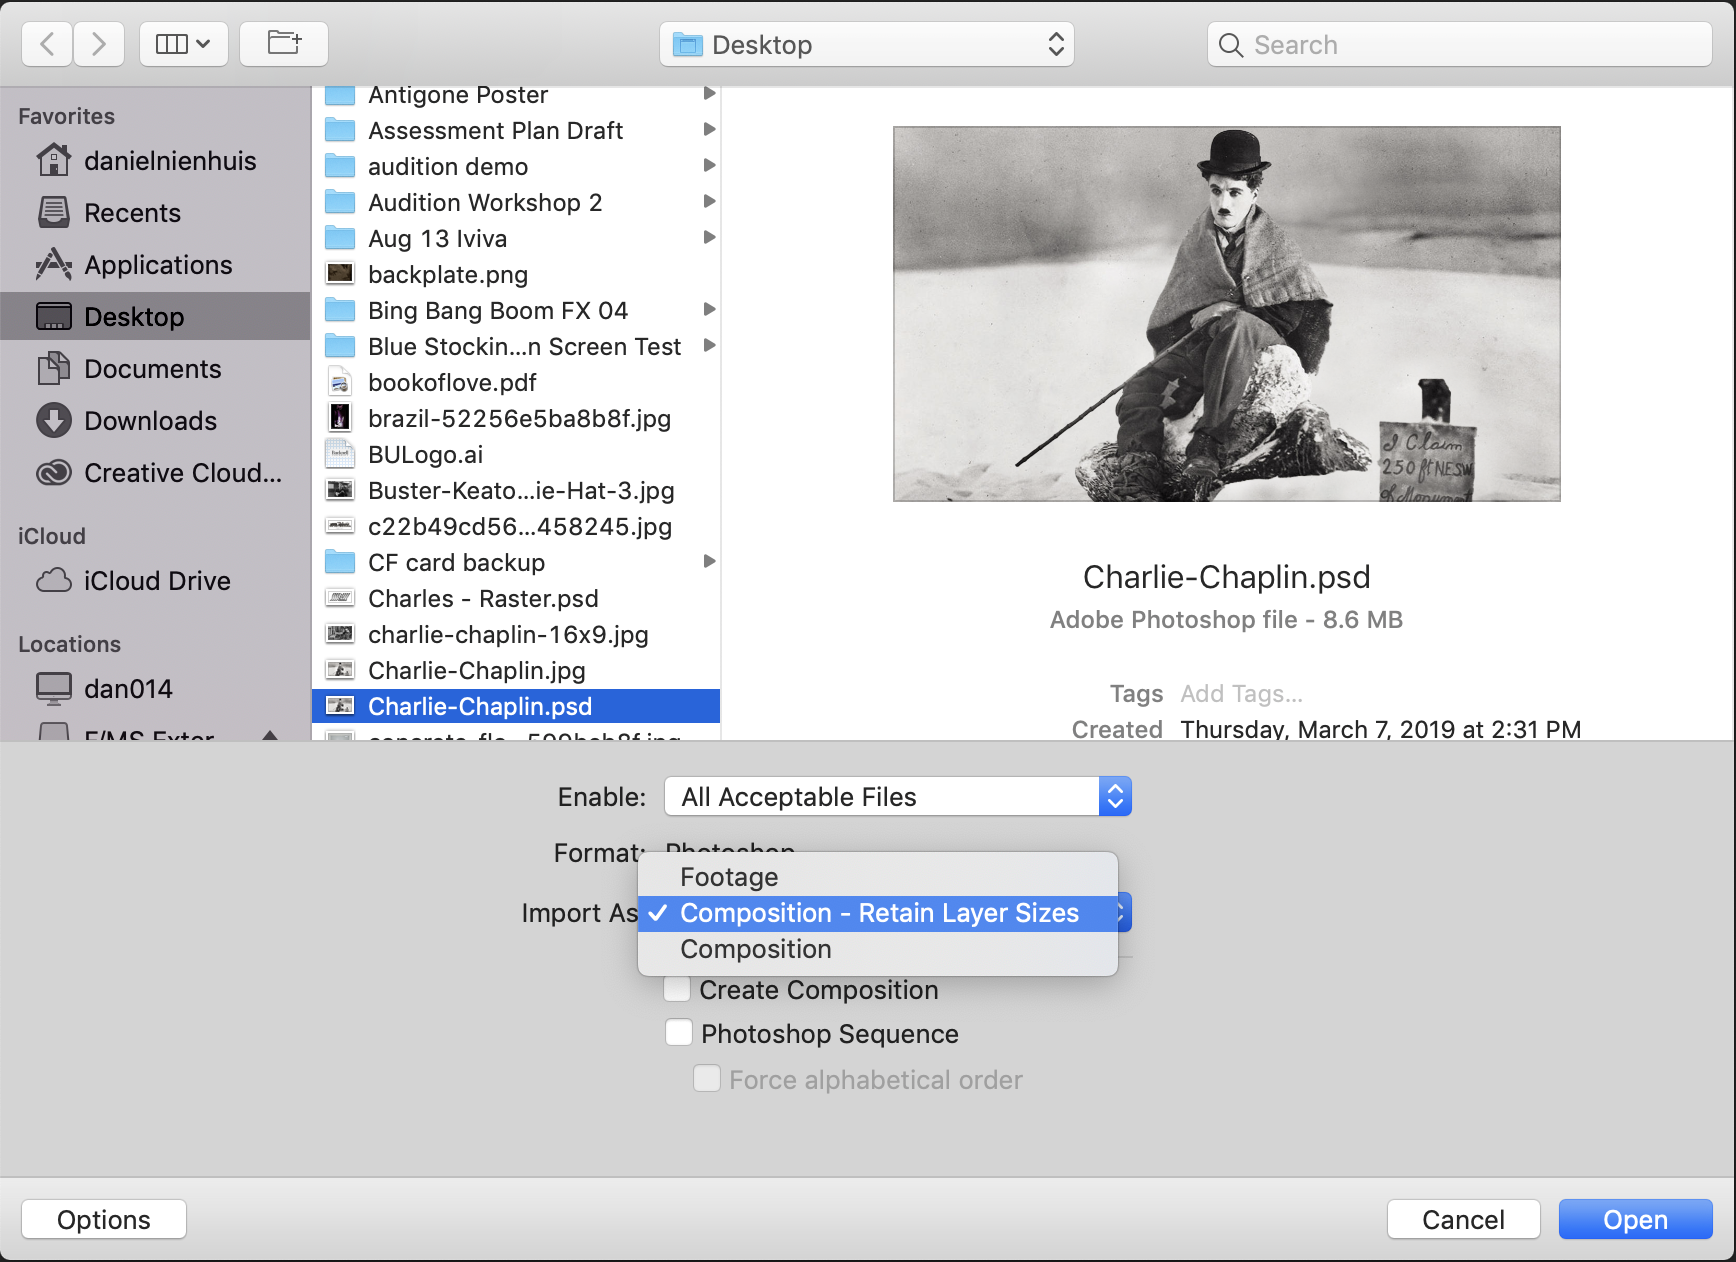
Instead of having a single image file show up in your list of media, you should see a new composition along with a folder, which contains the different layers as separate files. If you open the composition, you’ll see that everything is set up just the way it was in Photoshop, including any layers that might have been hidden.

Add Depth
The first thing you should do with your newly-imported Photoshop file is check the composition settings. The resolution will be the same as the image and the frame rate and length will probably be the same as the last composition you created. Hitting Cmd K or going to the Composition>Composition Settings… dropdown menu will allow you to adjust the parameters as necessary.
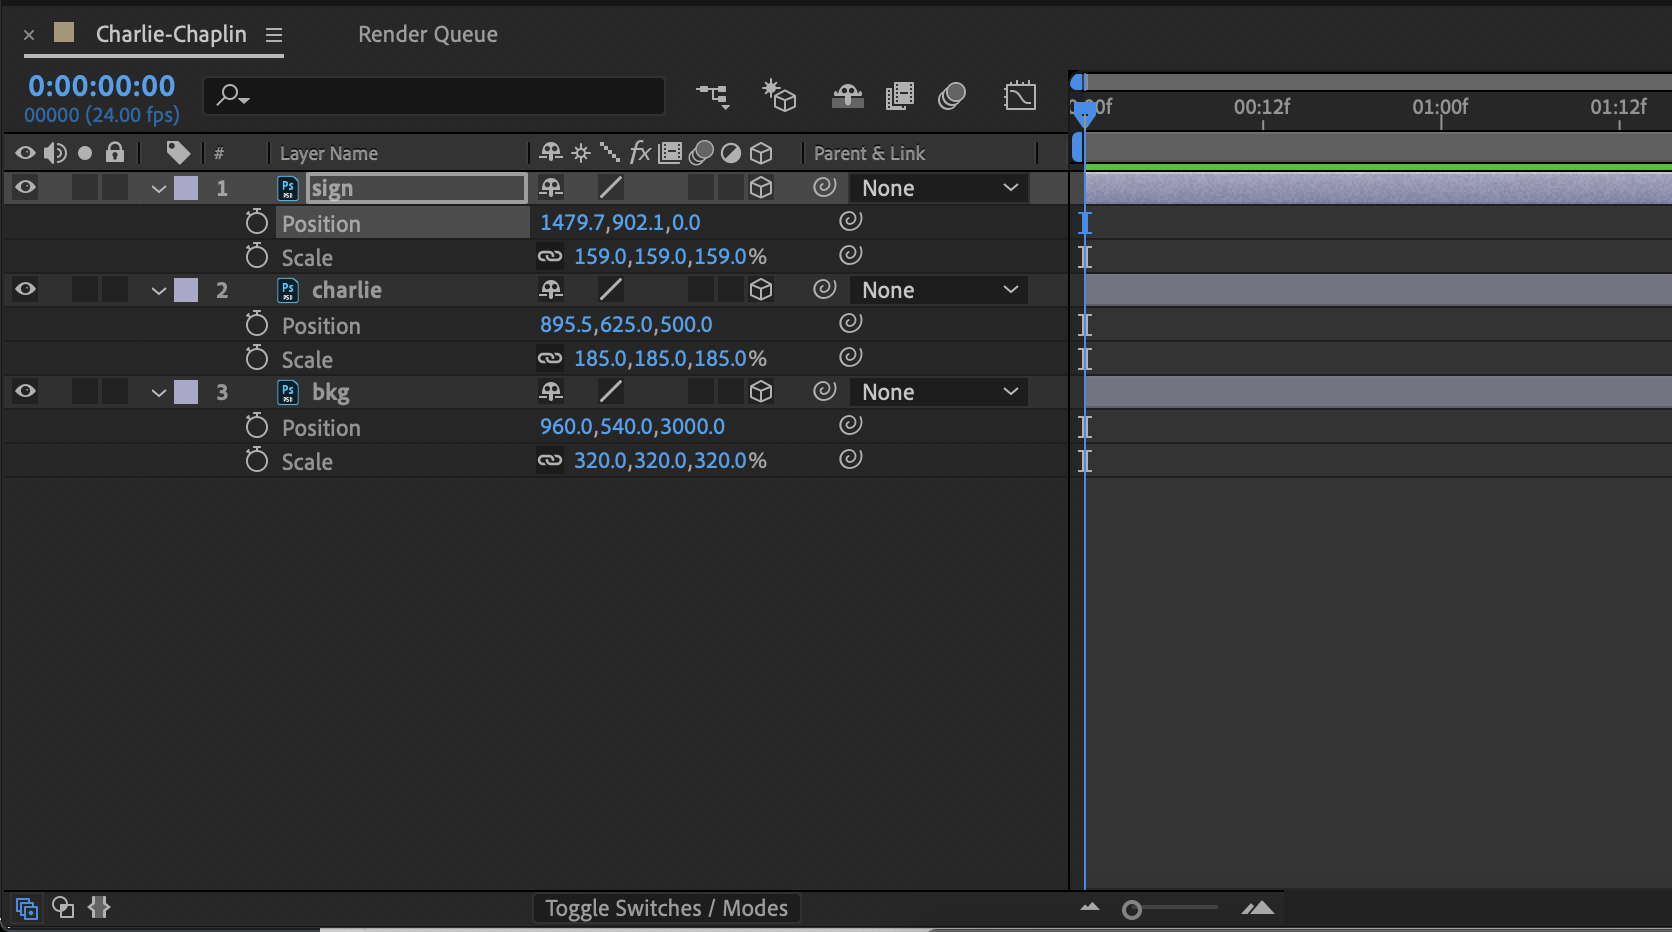
With the composition settings taken care of, enable the 3D property for each of the layers in the timeline. You can then begin moving the layers back – remember, depth (the Z axis) is the third number in the Position property. I would suggest moving the background layer back a few thousand pixels – this will give a more dramatic depth effect. As you space out the layers, try to keep the “geography” of the scene in mind; the larger the number on the Z axis, the farther back it will appear. As you continue to animate the scene, you will probably need to make some adjustments to the position of the layers.
You will also need to change the scale of the layers you move back or forward. As layers move away they appear smaller, so you’ll need to compensate for this by cranking up the scale. Don’t worry about bringing the scale over 100% – as long as you began with a relatively large image, you shouldn’t see a loss in quality. If your resulting image doesn’t exactly match the original, that’s fine! Arrange the scene so that it looks good to you.
Next, we can add a camera to the scene. Go to Layer>New>Camera and choose whichever options you like – the 50mm preset is always a safe bet. From here, you can move the camera through the scene, just as you did in the previous lesson. As you keyframe your camera movement, you may find that you need to continue adjusting the scale or position of the layers to get the shot you want.
If find that relatively simple moves work best: pushing in or tracking from side to side is effective. These kinds of shots generally only last for a few seconds. You can also experiment with the camera’s depth effects or add a blur to the background layers. It may also be helpful to switch to one of the other view modes in the composition window to see how everything is oriented.

